👑
Royal Golden Tiara & Crystal Crown
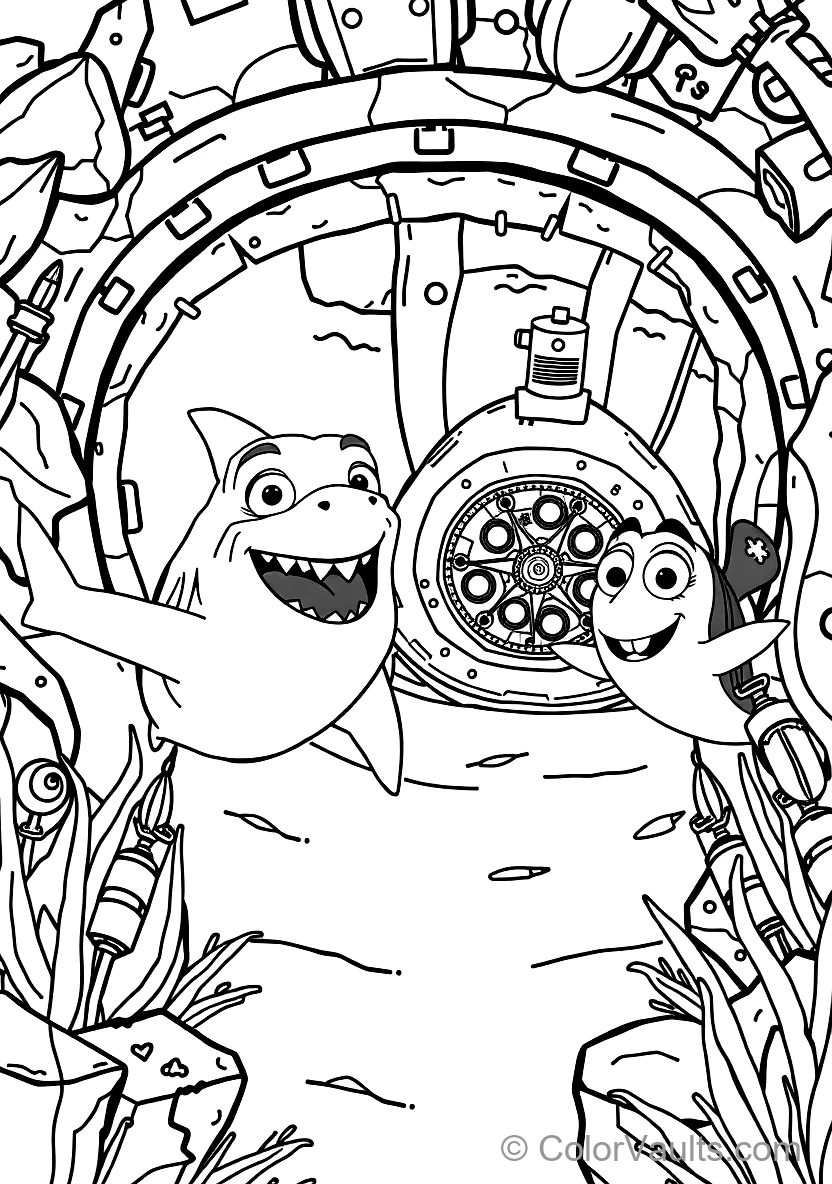
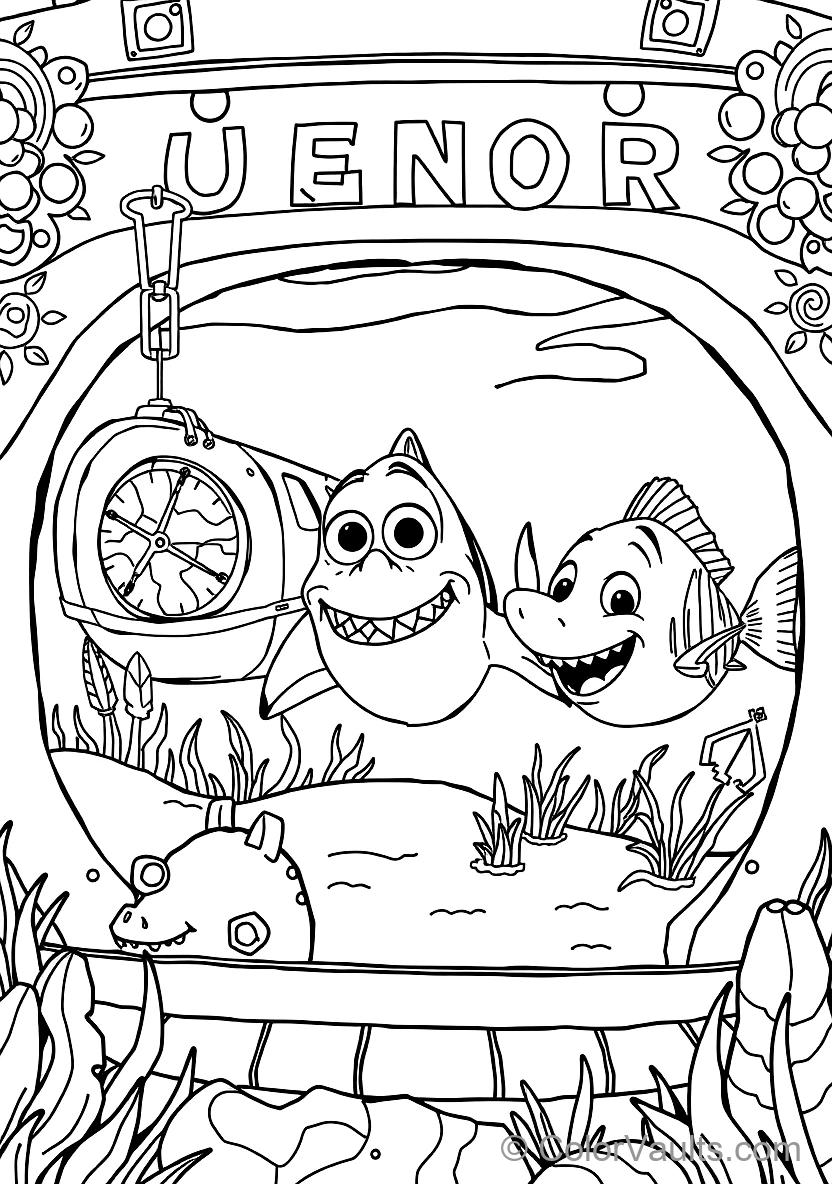
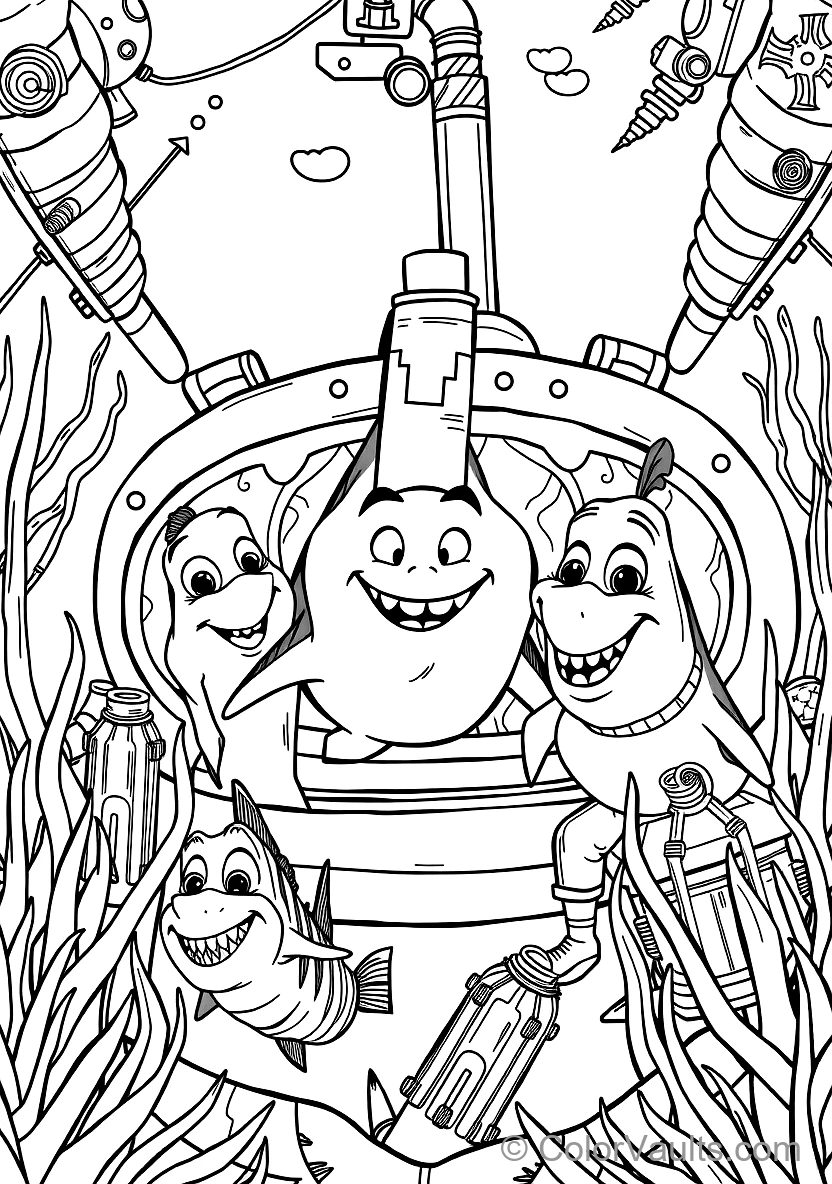
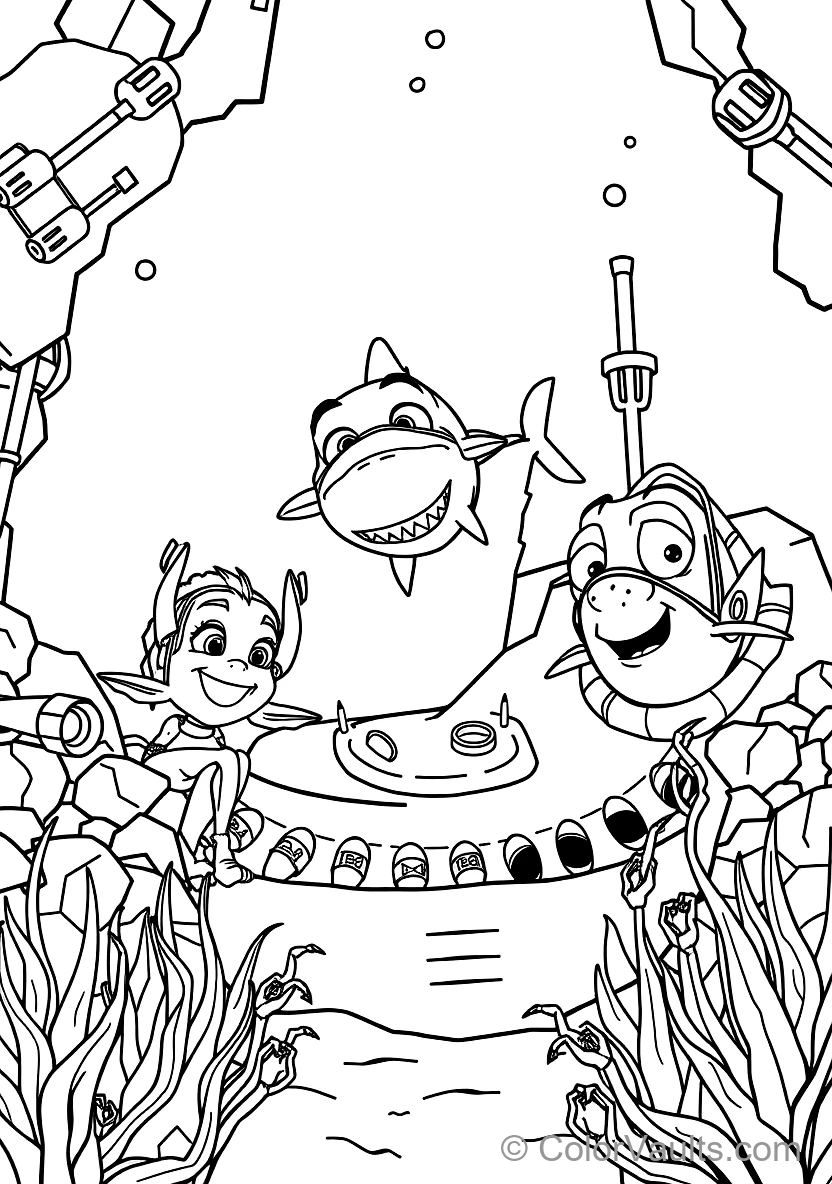
Cut out radiant crown peaks featuring Bruce the Great White Shark (Scene 3) and embellish with faux jewels for royal dress-up.
✂️Supplies Needed
- Bruce the Great White Shark (Scene 3) coloring page
- Gold or silver cardstock
- Peel-and-stick craft gems
- Stapler or tape
👉View step-by-step guide (4)
- Color Bruce the Great White Shark (Scene 3)'s royal regalia and gemstones with metallic crayons or markers.
- Mount the cutout centered upon an elongated gold cardstock headband.
- Scallop regal triangular peaks along the crown crest with scissors.
- Affix sparkling gemstones to every peak and staple the headband to fit comfortably!
🪄
Enchanted Fairy Wand with Flowing Ribbons
Top a wooden wand with Bruce the Great White Shark (Scene 3)'s magical emblem and cascade shimmering ribbons to cast cheerful spells.
✂️Supplies Needed
- Bruce the Great White Shark (Scene 3) coloring page
- Wooden dowel or straw
- Satin ribbons (gold, pastel)
- Glitter glue
👉View step-by-step guide (4)
- Color Bruce the Great White Shark (Scene 3) focusing on magical sparkles and radiant gradient tones.
- Cut two matching prints back-to-back and sandwich the top of the wooden dowel between them.
- Knot 3 to 4 flowing ribbon strands directly under the wand topper.
- Twirl through the air and whisper your secret fairy spells!
🏰
3D Fairy Tale Castle Gate with Working Drawbridge
Construct fortress towers from cardboard tubes with string-operated drawbridge doors welcoming Bruce the Great White Shark (Scene 3).
✂️Supplies Needed
- Bruce the Great White Shark (Scene 3) coloring page
- 2 toilet paper tubes
- Small cardboard box
- String or yarn
👉View step-by-step guide (4)
- Snip battlements along the rims of both tubes to form fortified fortress watchtowers.
- Slice an arched gate in the box face, keeping the bottom edge intact as a hinge.
- Punch two holes near the top corners of the drawbridge door and thread pulling strings through.
- Station Bruce the Great White Shark (Scene 3) triumphantly on the parapet to rule over the royal court!
🪞
Enchanted Handheld Vanity Mirror
Frame reflective silver foil inside an ornate cutout handle with Bruce the Great White Shark (Scene 3) to mimic Snow White's magic mirror.
✂️Supplies Needed
- Bruce the Great White Shark (Scene 3) coloring sheet
- Cardboard backer
- Kitchen foil
- Craft pearls and sequins
👉View step-by-step guide (4)
- Sketch a vintage mirror silhouette with a comfortable handle on thick cardstock and cut out.
- Paste smooth wrinkle-free kitchen foil across the center oval to reflect light.
- Border the frame with delicate fairy motifs and characters snipped from Bruce the Great White Shark (Scene 3).
- Accentuate with faux pearls and ask: "Mirror, mirror on the wall, who is the fairest of them all?"
🦄
Glitter Unicorn Horn & Floral Headband
Roll a spiraling pastel horn and accent with paper flowers from Bruce the Great White Shark (Scene 3) to wear on any headband.
✂️Supplies Needed
- Bruce the Great White Shark (Scene 3) coloring page
- Craft cardstock
- Plastic headband or elastic band
- Craft glue
👉View step-by-step guide (4)
- Color celestial stars and botanical blossoms in Bruce the Great White Shark (Scene 3) using pastel rainbow hues.
- Roll a sheet of cardstock into a tapered cone horn and wrap with golden twine.
- Trim two matching animal ears and flower clusters from the artwork.
- Fasten the horn and floral accents atop your headband to step into a fantasy realm!
🛡️
Valiant Knight Crest & Heraldic Shield
Reinforce heavy cardboard into an authentic curved knight shield bearing Bruce the Great White Shark (Scene 3)'s heraldic crest.
✂️Supplies Needed
- Bruce the Great White Shark (Scene 3) coloring page
- Corrugated cardboard
- Cardboard strip for arm strap
- Scissors
👉View step-by-step guide (4)
- Draw an authentic medieval pointed shield shape onto corrugated cardboard and trim cleanly.
- Color Bruce the Great White Shark (Scene 3) with bold champion colors and trim out the main figure as your official crest.
- Glue the emblem squarely into the center of the shield face.
- Tape a looped cardboard strap onto the reverse side for a comfortable arm grip in battle!
📜
Aged Kingdom Royal Proclamation Scroll
Antique your Bruce the Great White Shark (Scene 3) coloring page with a damp tea bag to look centuries old and seal with ribbon.
✂️Supplies Needed
- Bruce the Great White Shark (Scene 3) coloring page
- Damp used black tea bag
- Red satin ribbon
- Red crayon for wax seal
👉View step-by-step guide (4)
- Color Bruce the Great White Shark (Scene 3) with pencils, then tear gentle frayed edges around all four borders by hand.
- Dab a warm, damp black tea bag across the paper surface to produce an authentic sepia patina.
- Once completely dry, pen a secret royal decree or treasure map message along the footer.
- Roll the parchment tightly and bind with a crimson ribbon sealed with a faux wax badge!
✨
Luminous Fairy Dust Potion Bottle
Affix miniature art from Bruce the Great White Shark (Scene 3) to a small sensory potion bottle filled with glitter and magical swirls.
✂️Supplies Needed
- Mini cutout from Bruce the Great White Shark (Scene 3)
- Clean small jar or potion bottle
- Water and drops of baby oil or soap
- Sparkling glitter
👉View step-by-step guide (4)
- Color Bruce the Great White Shark (Scene 3) with radiant hues and trim into a petite potion label.
- Fill the glass bottle with warm water, craft glitter, and a pump of clear hand soap to slow the swirl.
- Fasten the cap tightly with waterproof glue to avoid spills.
- Glue your character crest onto the front, give it a gentle shake, and watch the fairy dust shimmer!
🎭
Masquerade Ball Venetian Eye Mask
Shape an elegant cat-eye Venetian mask around Bruce the Great White Shark (Scene 3), festooned with craft feathers and metallic piping.
✂️Supplies Needed
- Bruce the Great White Shark (Scene 3) coloring page
- Cardstock backing
- Craft feathers and sequins
- Elastic ribbon or side stick
👉View step-by-step guide (4)
- Color elaborate scrollwork patterns across Bruce the Great White Shark (Scene 3) using jewel tones.
- Back onto thick paper and cut smooth almond-shaped eye openings.
- Glue soft plume feathers at the temples and outline with metallic glitter paint.
- Affix a side-mounted wooden stick or elastic strap to hold the disguise at the royal ball!
🔖
Royal Storybook Bookmark with Golden Tassel
Fashion an opulent bookmark featuring Bruce the Great White Shark (Scene 3) crowned with a braided golden embroidery thread tassel.
✂️Supplies Needed
- Cutout strip from Bruce the Great White Shark (Scene 3)
- Gold or navy cardstock
- Hole punch
- Gold metallic or yellow yarn
👉View step-by-step guide (4)
- Color Bruce the Great White Shark (Scene 3)'s character illustration paying close attention to highlights.
- Layer onto midnight blue or rich gold cardstock for a regal storybook look.
- Punch an accurate hole centered at the top crest.
- Thread the gleaming gold tassel through to mark your chapters in fairy tale adventures!
💌
Enchanted 3D Pop-Up Storybook Greeting Card
Engineer an intricate pop-up tab so Bruce the Great White Shark (Scene 3) glides forward gracefully when the card unfolds.
✂️Supplies Needed
- Colored Bruce the Great White Shark (Scene 3)
- A4/Letter folded cardstock
- Glue stick
- Safety scissors
👉View step-by-step guide (4)
- Fold a sheet of lavender or rose cardstock in half to create your card base.
- Cut two parallel 1-inch slits along the inner spine and invert the tab inward.
- Mount your Bruce the Great White Shark (Scene 3) cutout squarely against the pop-up step.
- Inscribe a heartwarming message in shimmering ink and fold shut for a delightful surprise!
🖼️
Royal Gallery Masterpiece in Gilded Frame
Frame Bruce the Great White Shark (Scene 3) within an ornate gilded border and display it as an authentic palace portrait.
✂️Supplies Needed
- Finished art of Bruce the Great White Shark (Scene 3)
- A4/Letter frame
- Gold paint or metallic marker
- Mat board
👉View step-by-step guide (4)
- Finish coloring robes and scenic landscapes in Bruce the Great White Shark (Scene 3) using deep royal pigments.
- Draw baroque swirls and filigree accents on the mat border with gold metallic markers.
- Mount the illustration centered inside the frame.
- Sign your signature in the corner and mount upon your wall like royal hall of fame art!