🎄
Sparkling Holiday Tree & Wreath Bauble
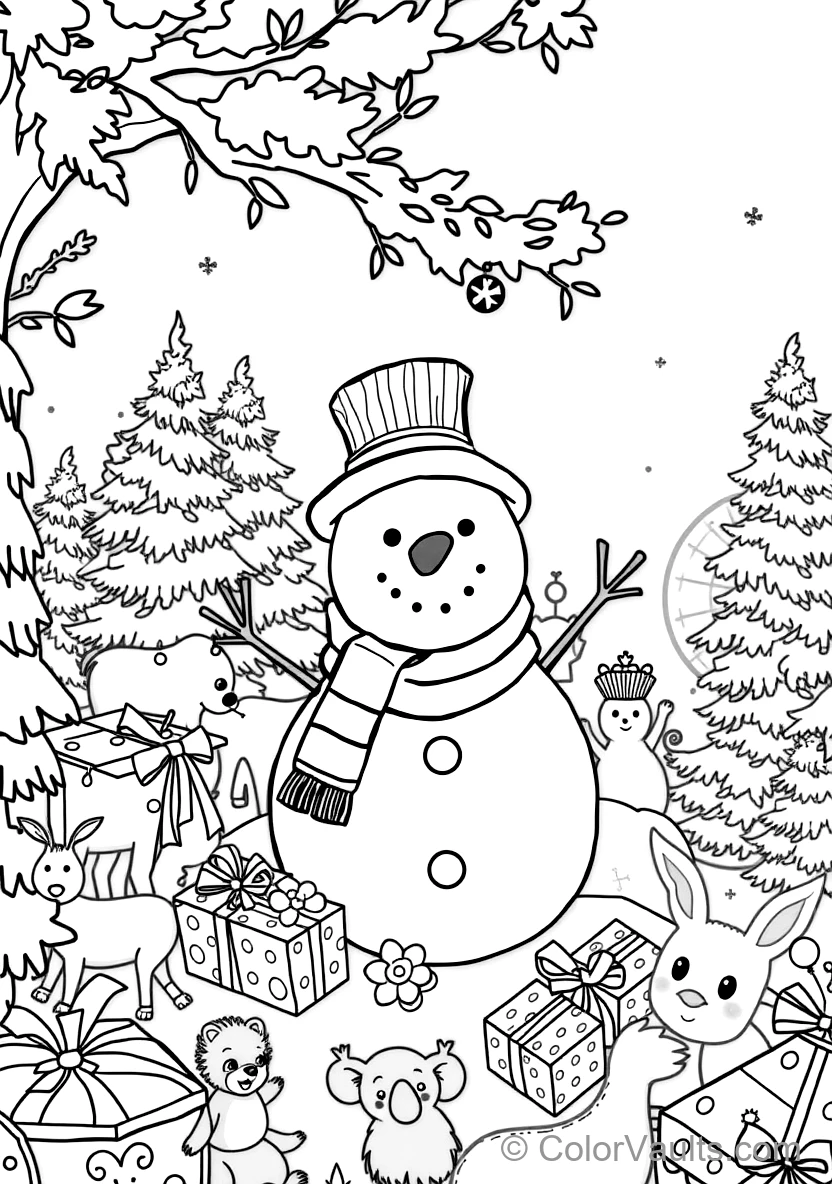
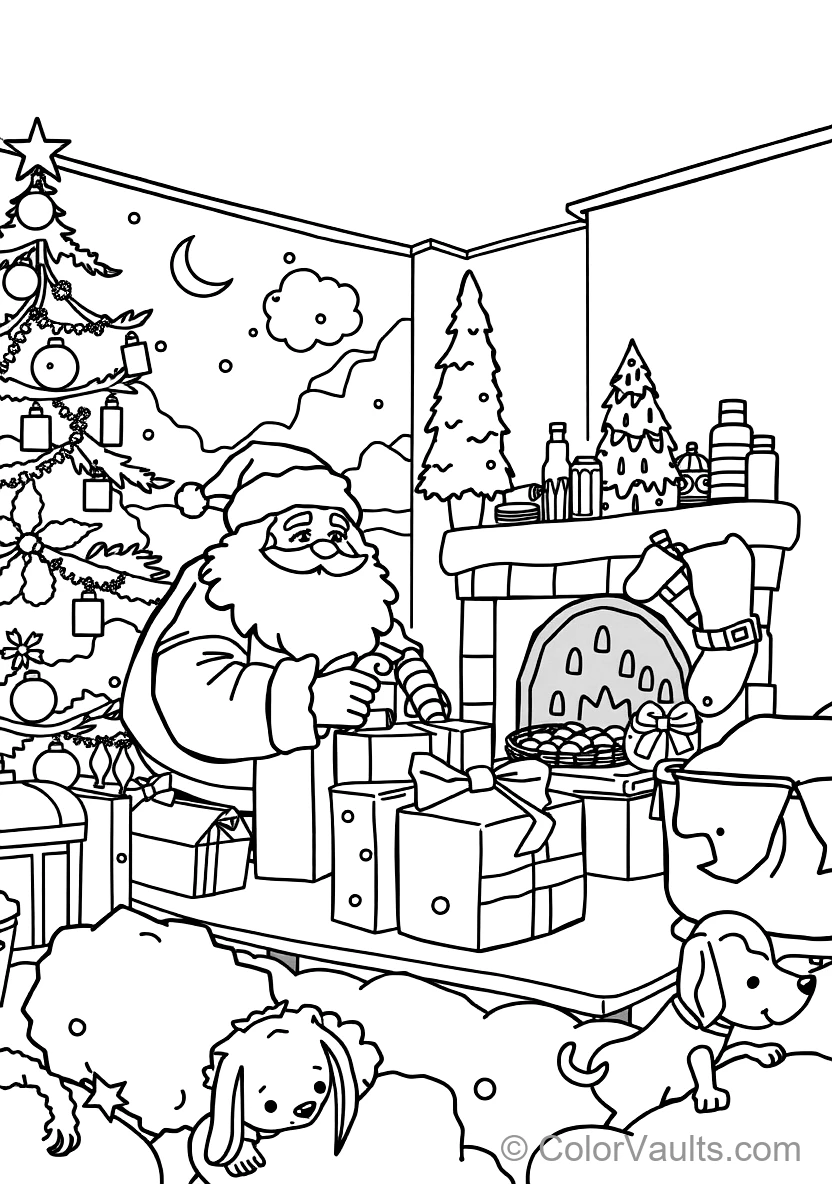
Trim Winter Joy (Scene 3) into a circular disc ornament, rim with dazzling glitter, and hang from tree branches.
✂️Supplies Needed
- Winter Joy (Scene 3) coloring page
- Stiff cardboard disc
- Glitter glue
- Silver or gold hanging ribbon
👉View step-by-step guide (4)
- Color Winter Joy (Scene 3) with rich celebratory tones of pine green, cranberry, and snowflake silver.
- Mount squarely onto a 3.5-inch round cardboard medallion for firmness.
- Trace a bead of sparkling glitter glue around the rim.
- Pierce a small eyelet at the peak, thread festive ribbon, and display prominently on the branches!
🎃
Spooky / Festive Holiday Window Silhouette
Cut a high-contrast cutout silhouette of Winter Joy (Scene 3) to cast bold festive shapes on glowing windows at dusk.
✂️Supplies Needed
- Winter Joy (Scene 3) coloring page
- Black or vibrant paper
- Safety scissors
- Window-safe tape
👉View step-by-step guide (4)
- Color Winter Joy (Scene 3) with rich twilight contrast or trim around black contour lines.
- Carefully shear away all negative background paper.
- Dab small clear tape tabs to the back tips.
- Affix to your front windowpane; as indoor lights turn on, your silhouette glows into the night street!
🕯️
Festive Paper Lantern & Candle Carrier
Slit vertical paper slats across Winter Joy (Scene 3), fold into an accordion barrel, and light up with a safe LED glow.
✂️Supplies Needed
- Winter Joy (Scene 3) coloring page
- Glue stick and scissors
- Battery LED light
- Paper strip for handle
👉View step-by-step guide (4)
- Fill the coloring page from edge to edge in vibrant celebration colors.
- Fold horizontal midpoint, cutting parallel slits 1-inch apart from fold to within 1-inch of the top edge.
- Open the sheet and curl into a cylinder, gluing opposing ends so the slats flare outward.
- Staple a paper arched handle across the rim and illuminate with a safe battery candle!
❄️
Winter Wonder DIY Glitter Snow Globe
Laminate Winter Joy (Scene 3), glue upright inside a jar lid, and submerge in water with swirling snow glitter.
✂️Supplies Needed
- Colored Winter Joy (Scene 3)
- Clean glass jar with seal lid
- White/silver glitter
- Water and drops of baby oil
👉View step-by-step guide (4)
- Color Winter Joy (Scene 3) brightly, trim neatly, and seal water-tight in heavy plastic laminate.
- Glue the figure firmly to the inner surface of the jar lid using waterproof craft adhesive.
- Fill the jar with clean water, a few drops of baby oil to slow settling, and sparkling glitter flakes.
- Screw the lid on tightly, flip the jar upside down, and watch the winter snowfall swirl!
🐰
Spring Celebration Treat & Candy Basket
Weave a cardstock gift basket adorned with Winter Joy (Scene 3) to hold holiday treats, candies, and Easter eggs.
✂️Supplies Needed
- Winter Joy (Scene 3) coloring page
- Square sheet of colored cardstock
- Glue stick and scissors
- Holiday candy
👉View step-by-step guide (4)
- Score a square cardstock sheet into a 3x3 grid and cut four corner slits.
- Fold the side flaps upward and glue the corner corners to build a sturdy open box basket.
- Arch an overhead cardstock strip across the basket rim to serve as a carrying handle.
- Mount your Winter Joy (Scene 3) illustration on the basket front and fill with holiday chocolates!
🎉
New Year Party Balloon Confetti Popper
Stretch a knotted balloon over a tube decorated with Winter Joy (Scene 3) to launch eco-paper confetti at midnight!
✂️Supplies Needed
- Colored Winter Joy (Scene 3)
- Cardboard tube
- Standard party balloon
- Paper confetti punches
👉View step-by-step guide (4)
- Tie a tight knot in the neck of an uninflated party balloon, then snip the top dome off.
- Stretch the severed balloon membrane snugly over one end of your tube and tape down firmly.
- Wrap your joyous Winter Joy (Scene 3) coloring art around the outer barrel.
- Load with paper confetti wads, pull back the rubber knot, and release to shower the room with confetti!
💌
Dimensional Holiday Greeting & Thank You Card
Craft an artisanal seasonal card starring Winter Joy (Scene 3) with embossed borders and handwritten best wishes.
✂️Supplies Needed
- Winter Joy (Scene 3) coloring page
- Folded heavy card blank
- Mini satin bow
- Metallic gold pen
👉View step-by-step guide (4)
- Color festive details of Winter Joy (Scene 3) highlighting heartwarming seasonal warmth.
- Trim in an oval medallion and layer onto cardstock with 3D foam pads for depth.
- Top with a mini red or emerald satin bow.
- Pen warm blessings and wishes in gold gel ink on the inside page!
👑
Party Cone Hat with Fluffy Pom-Pom Topper
Roll Winter Joy (Scene 3) into a celebratory cone party hat topped with a puffy yarn pom-pom and chin cord.
✂️Supplies Needed
- Winter Joy (Scene 3) coloring page
- Fluffy cotton ball or pom-pom
- Elastic chin cord
- Stapler and tape
👉View step-by-step guide (4)
- Fill Winter Joy (Scene 3) with confetti dots, streamers, and vibrant party colors.
- Trim the paper into an arched fan and curve tightly into a cone hat.
- Secure the seam with clear tape and glue a fluffy pom-pom on the apex tip.
- Staple elastic cord to the brim to secure under your chin and kick off the festivities!
🍂
Harvest & Seasonal Napkin Ring Bands
Roll cardstock rings bearing Winter Joy (Scene 3) motifs to wrap dining napkins for Thanksgiving or holiday dinner.
✂️Supplies Needed
- Winter Joy (Scene 3) coloring page
- Cardstock bands (1.5 x 6 inch)
- Glue or Velcro dots
- Cloth or paper napkins
👉View step-by-step guide (4)
- Color several miniature seasonal icons in Winter Joy (Scene 3) to match your table linens.
- Trim badges and mount onto stiff cardstock rings.
- Loop bands together securing with clear tape.
- Slide rolled napkins through to welcome your guests to an unforgettable feast!
🎁
Holiday Gift Bags & Punch-Out Present Tags
Embellish kraft paper gift sacks with vibrant Winter Joy (Scene 3) cutouts and hand-lettered recipient tags.
✂️Supplies Needed
- Colored Winter Joy (Scene 3)
- Kraft paper gift bag
- Hole punch and holiday ribbon
- Glue stick
👉View step-by-step guide (4)
- Color festive illustrations of Winter Joy (Scene 3) in celebratory glittering jewel tones.
- Trim leaving a neat white margin and mount onto the flat front of your gift bag.
- Snip an accompanying gift tag and punch an eyelet at the corner.
- Handwrite "Warmest Holiday Wishes" and tie closed with curling ribbon!
🌻
Summer Accordion Cooling Hand Fan
Pleat your colorful Winter Joy (Scene 3) into an accordion fan bound at the handle to stay cool on warm sunny days.
✂️Supplies Needed
- Winter Joy (Scene 3) coloring page
- Tape or rubber band
- 2 popsicle sticks for handles
- Markers
👉View step-by-step guide (4)
- Color the full sheet in radiant sunny vacation tones.
- Accordion-pleat the entire page lengthwise with crisp 0.75-inch creases.
- Pinch the lower 2 inches together tightly and wrap with colorful tape as a grip.
- Glue craft sticks along the two outer edges and fan open for instant summer breezes!
🖼️
Annual Seasonal Calendar & Holiday Art in Frame
Frame Winter Joy (Scene 3) with hand-lettered holiday dates to preserve cherished family festive memories.
✂️Supplies Needed
- Finished Winter Joy (Scene 3) artwork
- A4/Letter frame
- Seasonal colored mat board
- Fineliner pen
👉View step-by-step guide (4)
- Finish coloring the festive illustration with nuanced shadows and glowing highlights.
- Mount inside a mat board selected in rich seasonal shades (crimson, pine, or harvest amber).
- Center the artwork neatly inside your glass display frame.
- Inscribe the year and holiday name in calligraphy across the lower mat and display as an annual tradition!